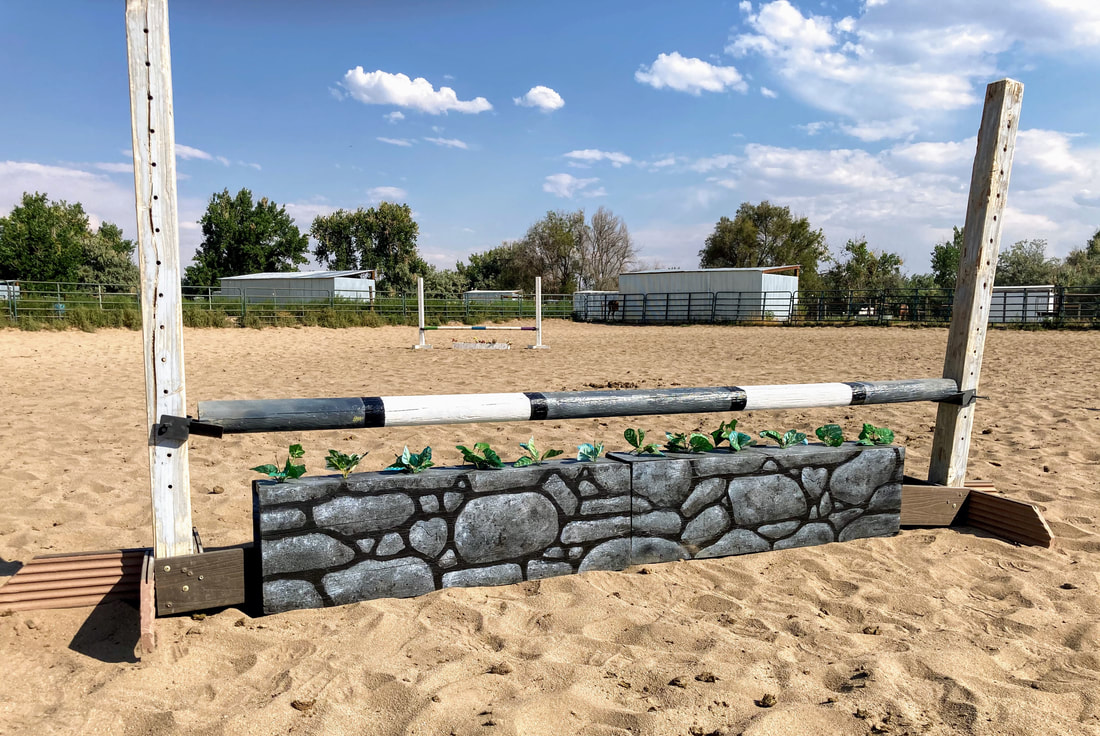
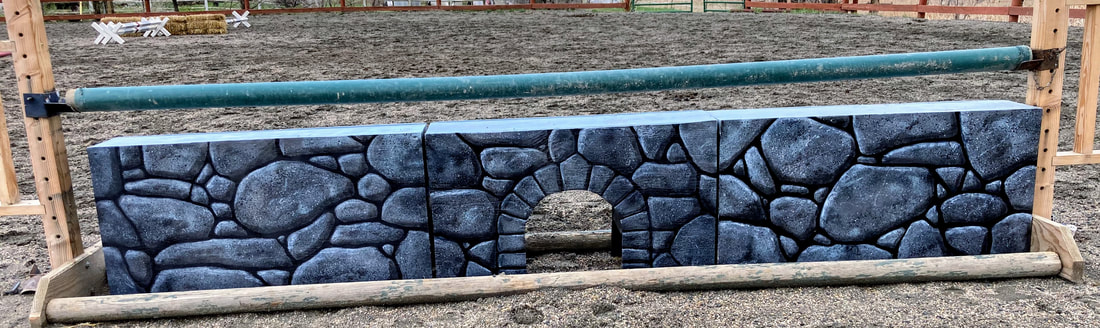
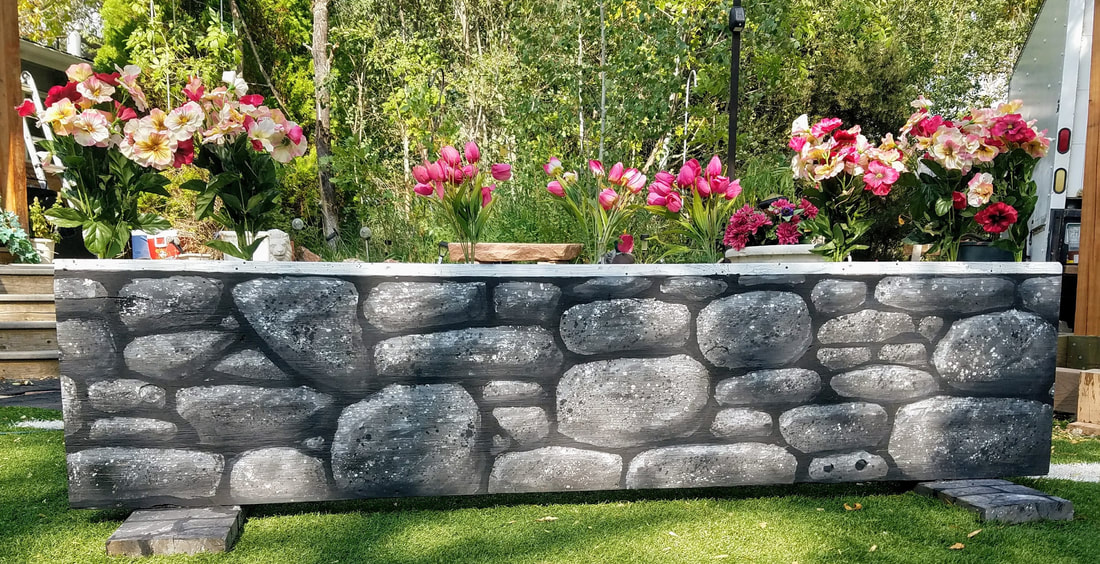
Making a Stone Wall
|

As filler under poles, or stand-alone. Use 2 or 1 section for a "skinny" jump.
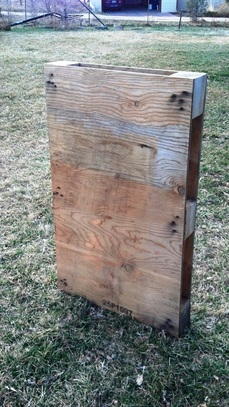
I started with 3 4-foot long solid pallets much like this. (Two similar pallets were made into the castle wall standards.) |
Or build a pair of little rectangular boxes in whatever height you like. These are 1 foot tall and 6 inches wide (since that's what lumber I had)
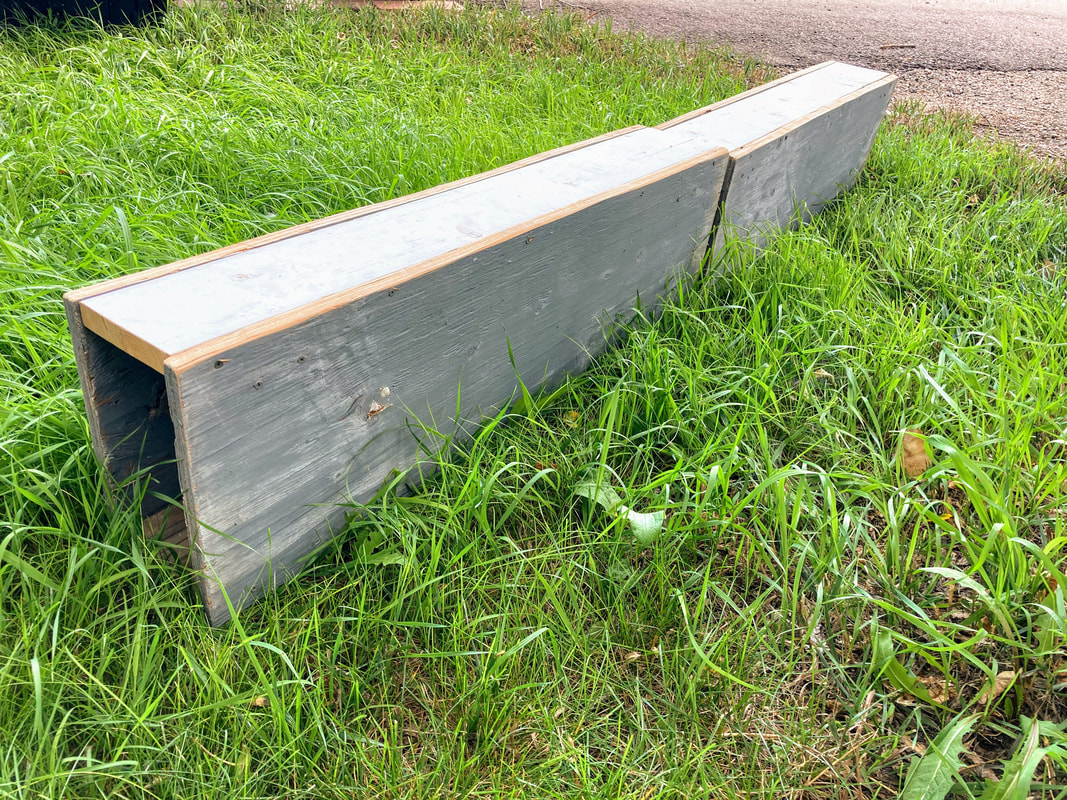

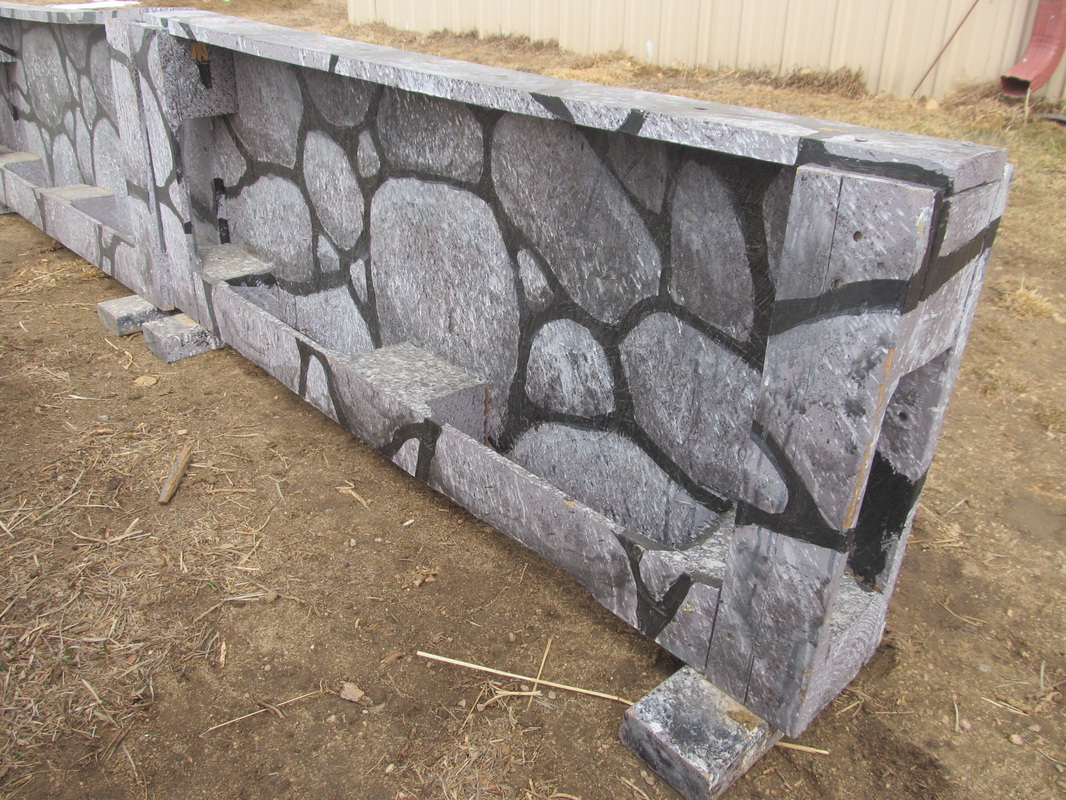
I cut each pallet into unequal pieces to make the larger stone wall. The smaller pieces became the brick wall (below).
The top pieces are scrap 1 x 6 inch boards screwed on.
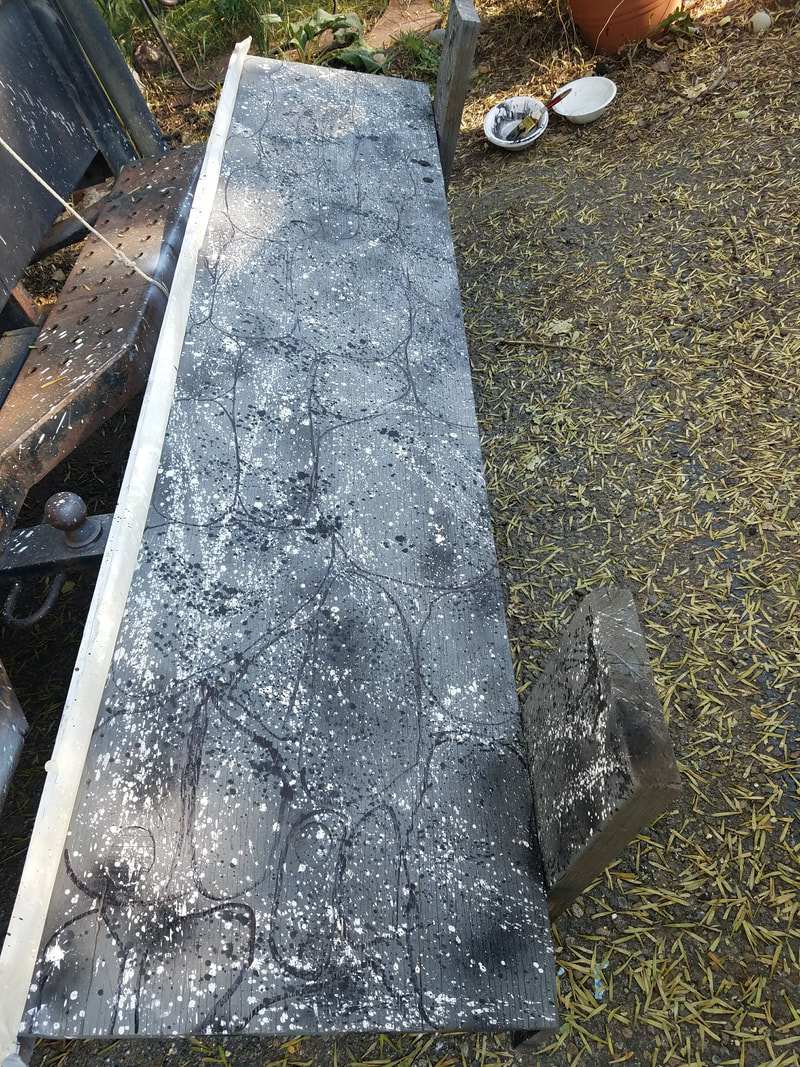
The painting was actually easy. Paint it all solid grey. Then spatter with watered-down black and then again with watered-down white paint to speckle. You can use spray bottles or flick a long-bristled paint brush.
Outline various sizes of stones with Sharpie, then paint the black lines to outline each stone. To give depth to each stone, use the thinned black for shadows underneath and thinned white for highlights on top.
I also lined up the stones on the edges of each panel so that no matter in what order you put the panels the stones will still match up. :-)
The feet are just 2 x 4 pieces screwed on with deck screws.
Stone Wall in progress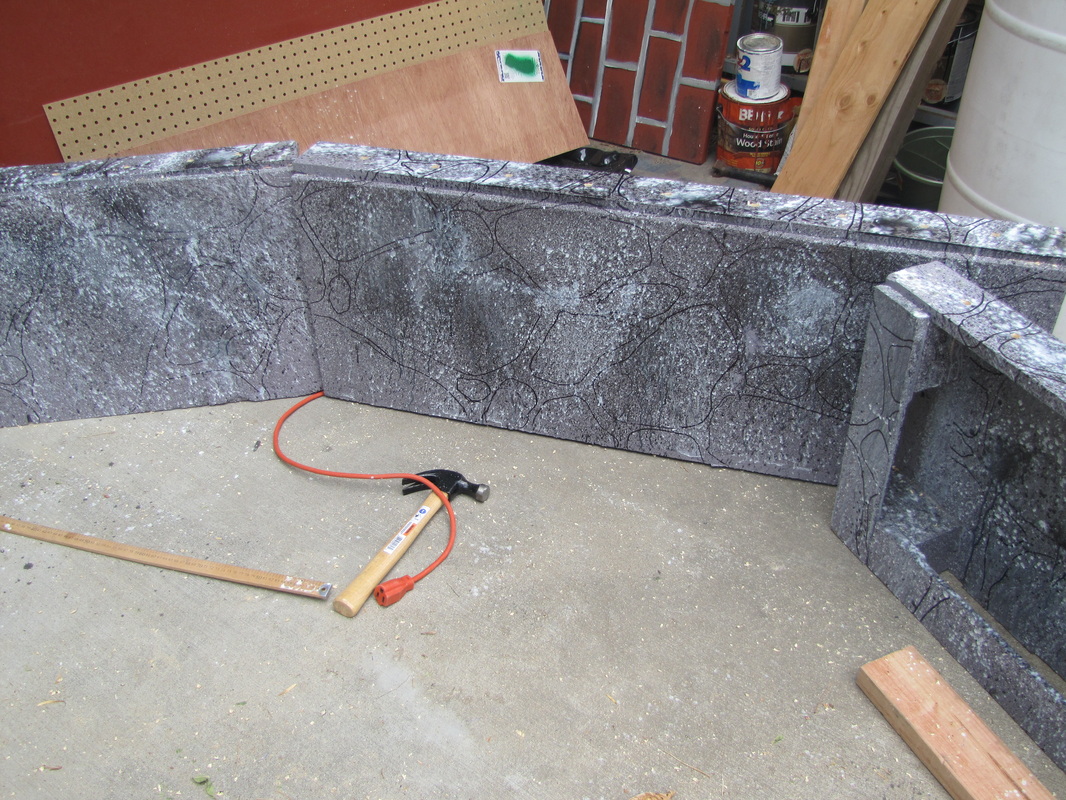
Splattered and stones outlined.
|
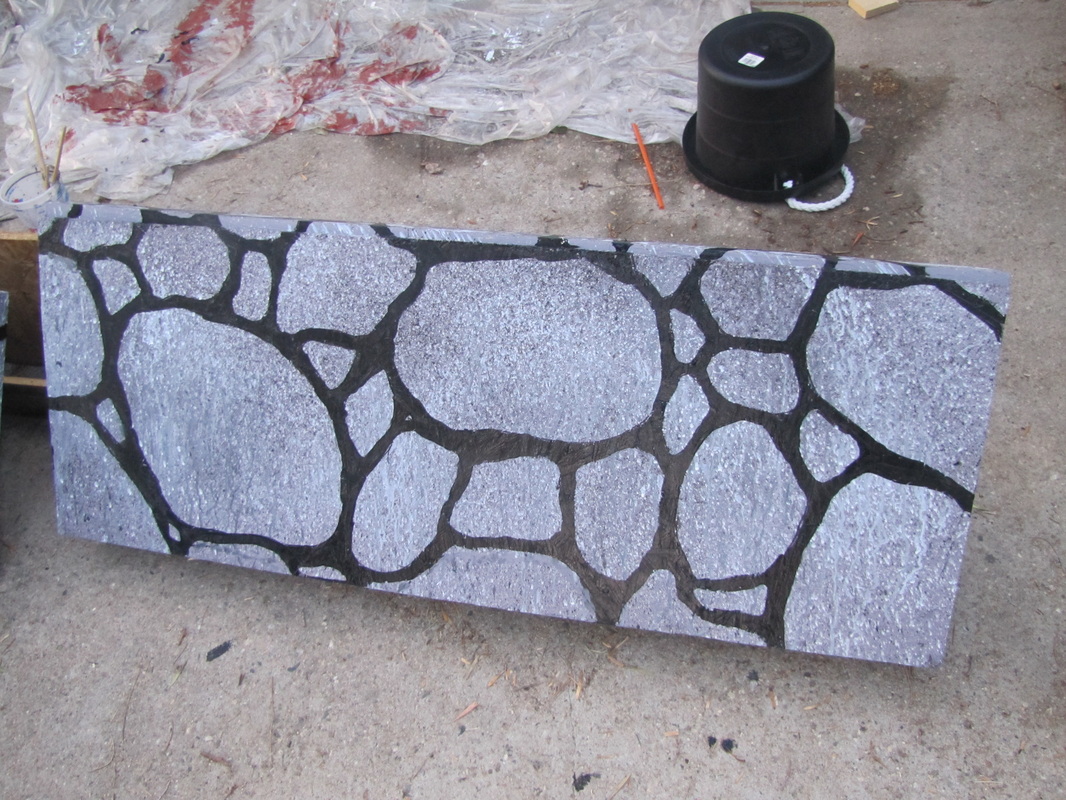
Stones defined but not yet shaded.
|
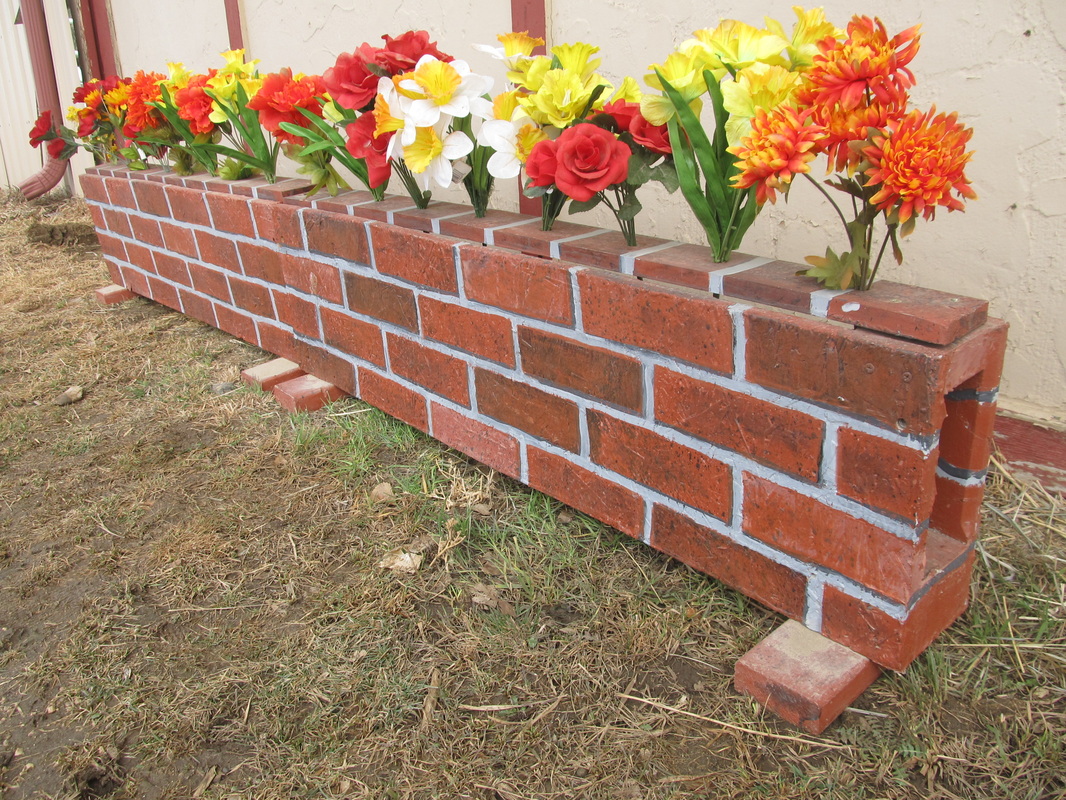
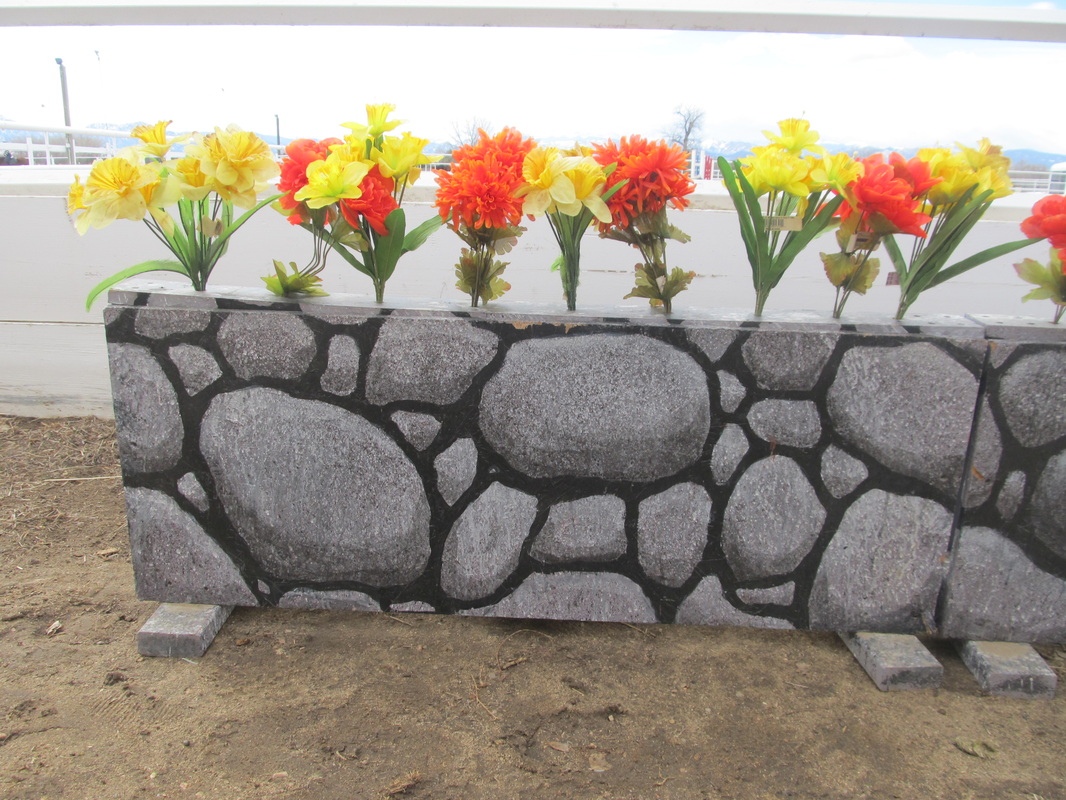
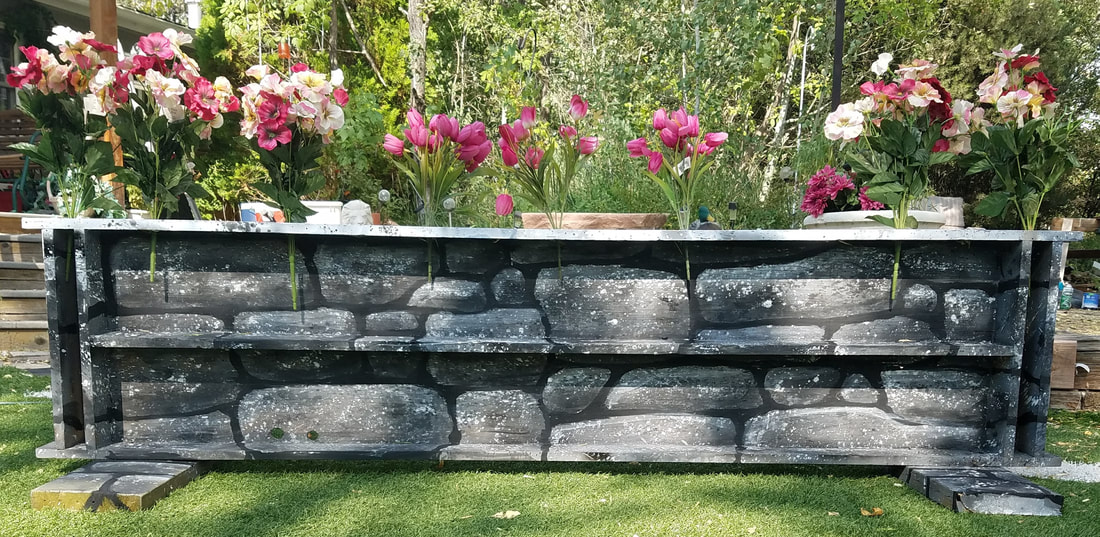
Stone Wall Top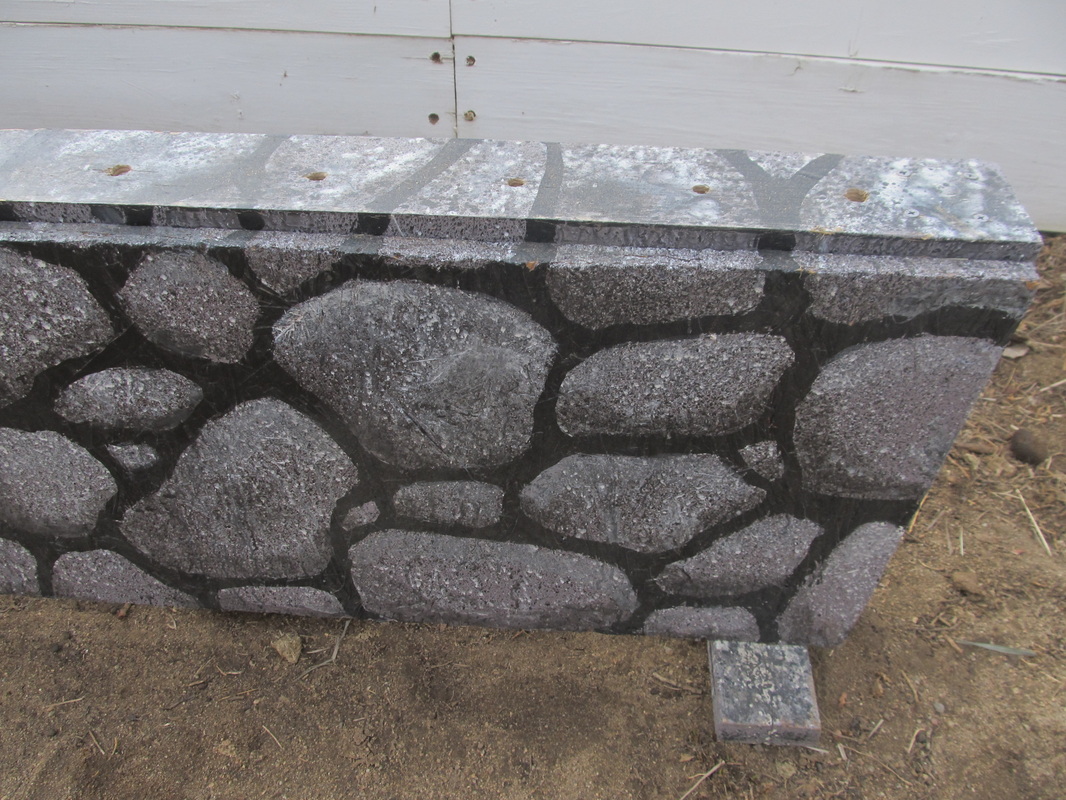 Holes for flowers or greenery
Easy to move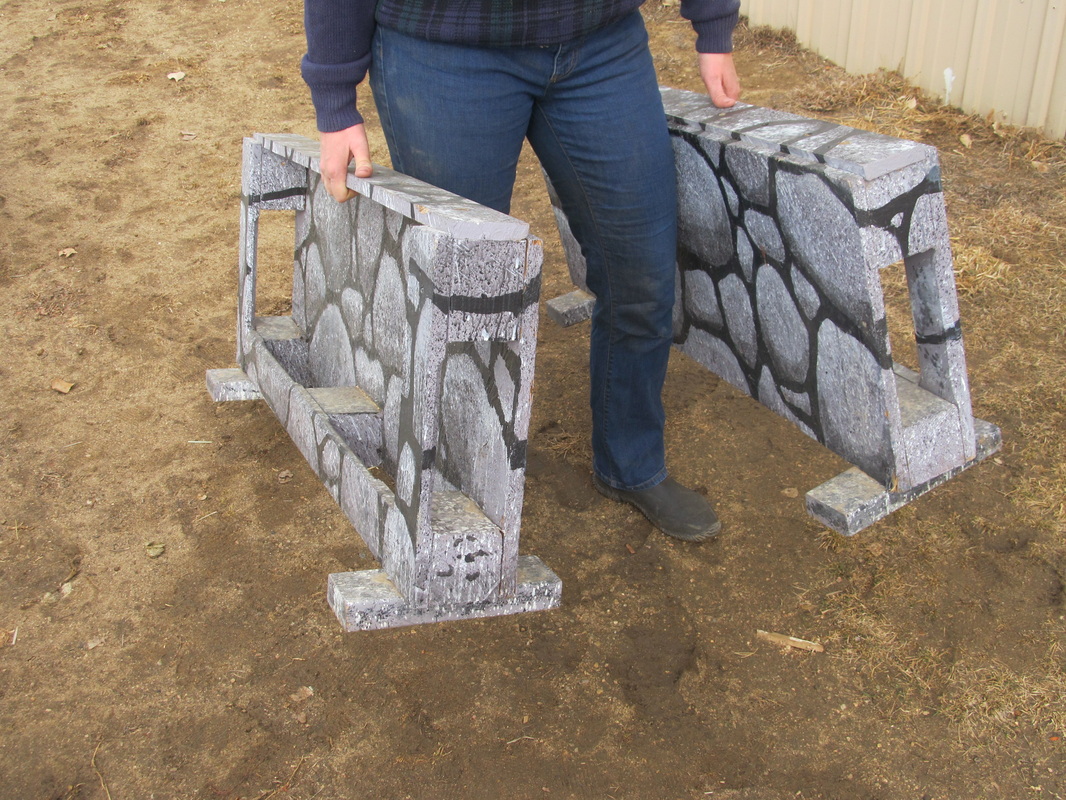
Though they're painted on both sides and you can jump them both ways, they have just 1 solid side so they're not as heavy. The top acts as a handle.
|
|


Another wall from a single long pallet. Colored the top white like a ledger.
Back side of pallet rock wall.

Making the Brick Wall
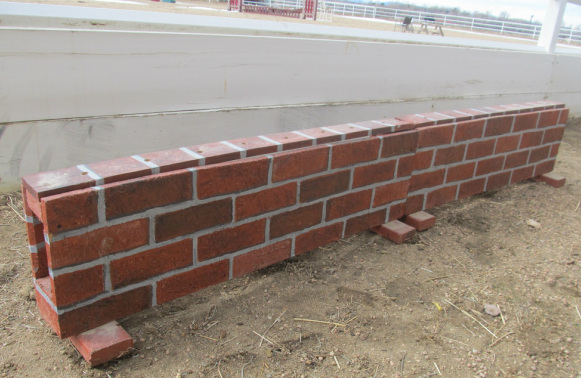
From smaller part of 3 pallets I sawed in 2 pieces. (Only 2 of 3 sections shown here.)
This painting was trickier due to the straight "mortar" lines. I Googled "faux brick painting" and used a few different ideas.
First I primer painted it all grey.
Then, I measured and taped off the mortar lines. I painted the whole thing brick red (cheap Oops paint). Then I mixed some original paint with black to darken and another tray with white to lighten and went back over random bricks.
I also did some splattering to get a speckled effect. I smudged some darker paint on some random bricks, just on parts of each brick for authenticity.
After pulling off the tape, I went back over the grey lines. I also added a thin dark grey line for a "shadow" under each brick.