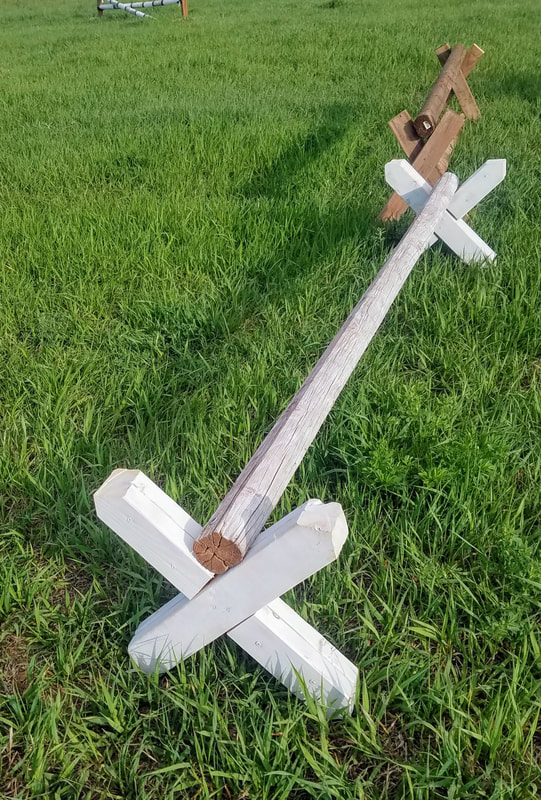
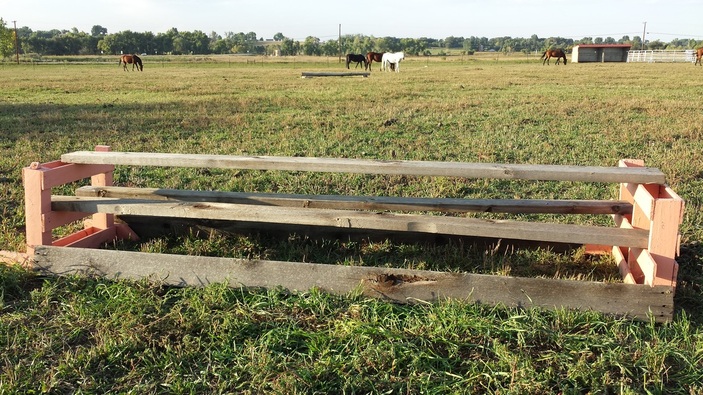
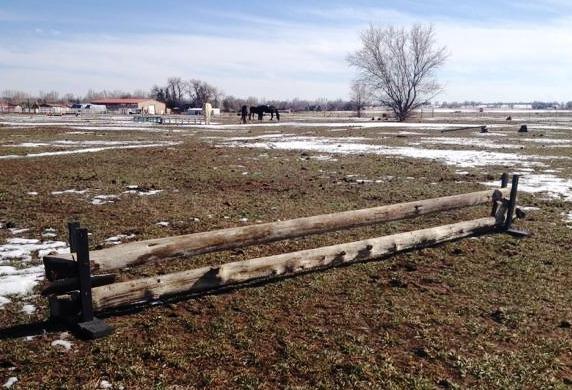
Basic Classic Jump Standards
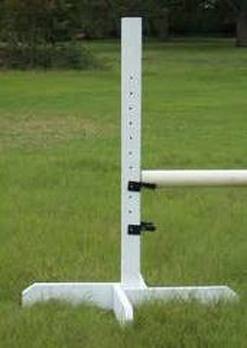
A very basic, inexpensive and versatile "pole holder".
Start with an 8' 4 x 4. Have Home Depot cut it into 2 4' sections.
Mark for holes every 3 inches, starting 9 inches from one end. Drill holes. They will be straighter if you drill small holes first, then go back with a larger bit to widen.
Cut an 8' 2 x 6 board into 4 2' sections. Lop off a corner if you like - it does look more "finished". (I might actually go with shorter feet next time so my oxers can be narrower when I have 2 together)
Use wood decking screws to attach legs. Screws hold much better than nails. A "pinwheel" pattern as shown is very common and sturdy. I'd suggest 4 screws per leg.
Try to keep the legs fairly level by lining each up with the upright. However, the nice thing is that if you use them in an arena it won't matter that much with the uneven, sandy surface.
Paint as desired.
Mark your jump heights on the standards with Sharpie marker, or even paint with bands so you can easily visually tell at one end that the pole is the same height as the other end, so will be level.
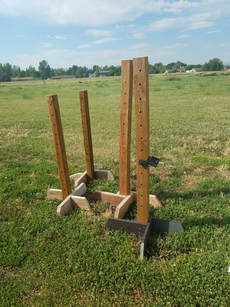
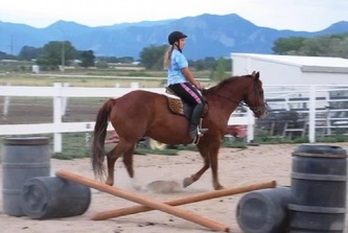
Four foot (4') standard heights may or may not be tall enough.....
|
Should maybe have switched the 4' and 5' standards for Harley.
|
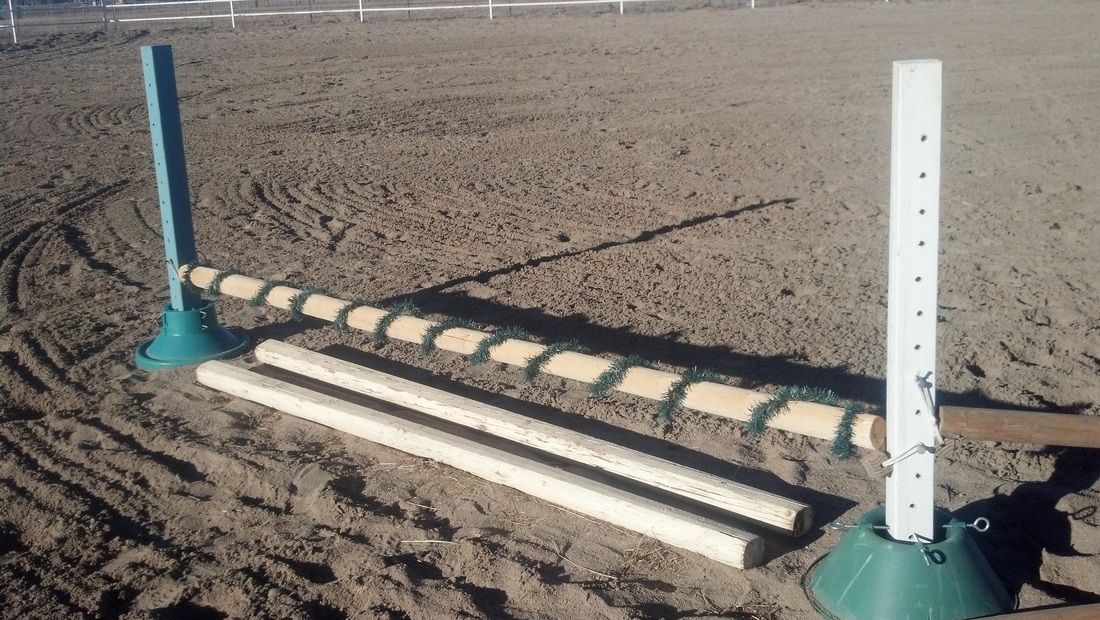
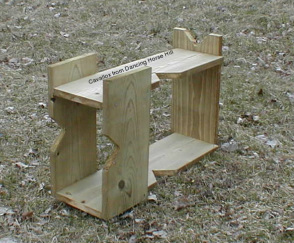
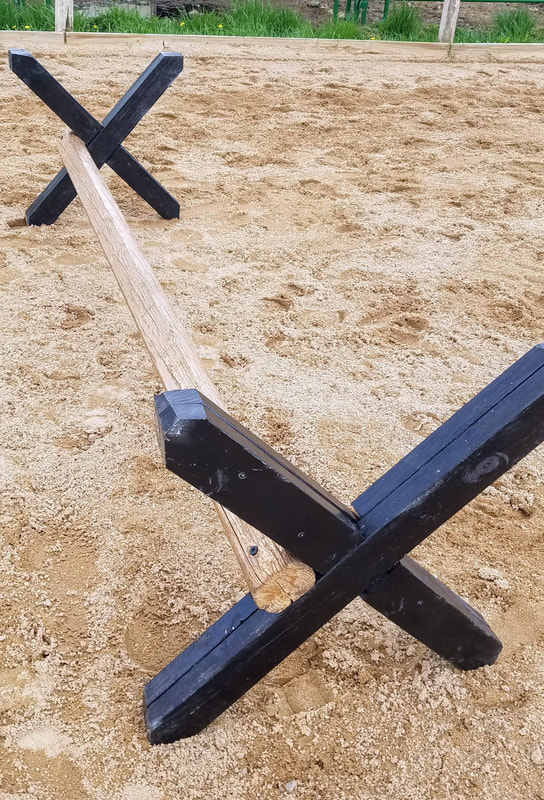
Simplified Classic Jump Standard
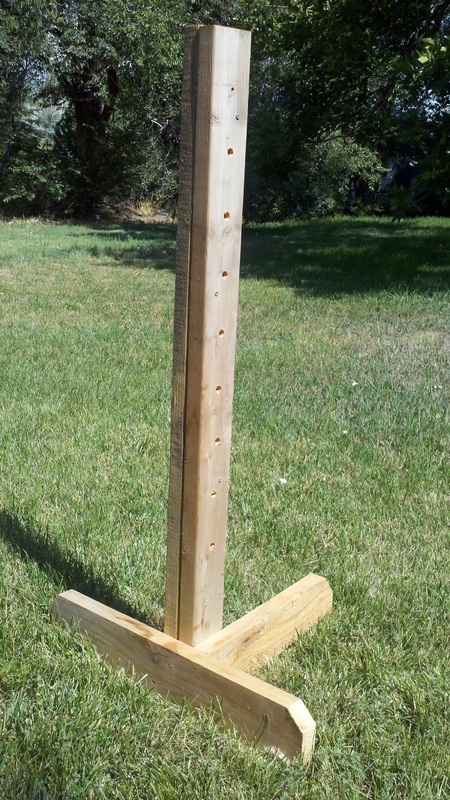
A Dilemma: I wanted another jump standard, but didn't have any 4x4's, and didn't want to spend the money, plus make a trip to the lumber store.
But I did have some scrap 2x4's and a 3 1/2 foot scrap of 2x6......
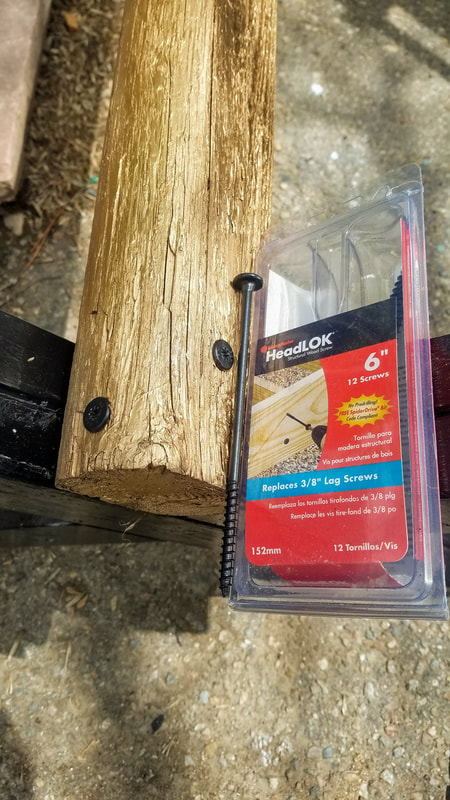
So I screwed the 4' 2x4's together to make the upright. (4 3" deck screws) Voila!
I drilled holes every 4 inches starting at 1 ft. for the jump cup pins.
Then I cut the 2x6 into 2 unequal sections for the feet (about 22" and 20") and screwed them on.
Only had to make 1 saw cut (plus the dog ears).
Plus the foot arrangement, besides being easier to make and attach, is also easier to roll poles and move filler underneath.
I'm showing it unpainted here so you can see the construction better. Once painted you can't really even tell it's not a regular standard.
But I did have some scrap 2x4's and a 3 1/2 foot scrap of 2x6......
So I screwed the 4' 2x4's together to make the upright. (4 3" deck screws) Voila!
I drilled holes every 4 inches starting at 1 ft. for the jump cup pins.
Then I cut the 2x6 into 2 unequal sections for the feet (about 22" and 20") and screwed them on.
Only had to make 1 saw cut (plus the dog ears).
Plus the foot arrangement, besides being easier to make and attach, is also easier to roll poles and move filler underneath.
I'm showing it unpainted here so you can see the construction better. Once painted you can't really even tell it's not a regular standard.
Further resources for building schooling jump standards
Here are some good instructions for building the simple upright standards:
http://www.horsechannel.com/horse-exclusives/building-jump-standards.aspx
http://lorienstable.com/articles/jumping/900-building_jumps/
http://www.wikihow.com/Build-a-Horse-Jump-1-Pair-Schooling-Standard
http://www.horsechannel.com/horse-exclusives/building-jump-standards.aspx
http://lorienstable.com/articles/jumping/900-building_jumps/
http://www.wikihow.com/Build-a-Horse-Jump-1-Pair-Schooling-Standard
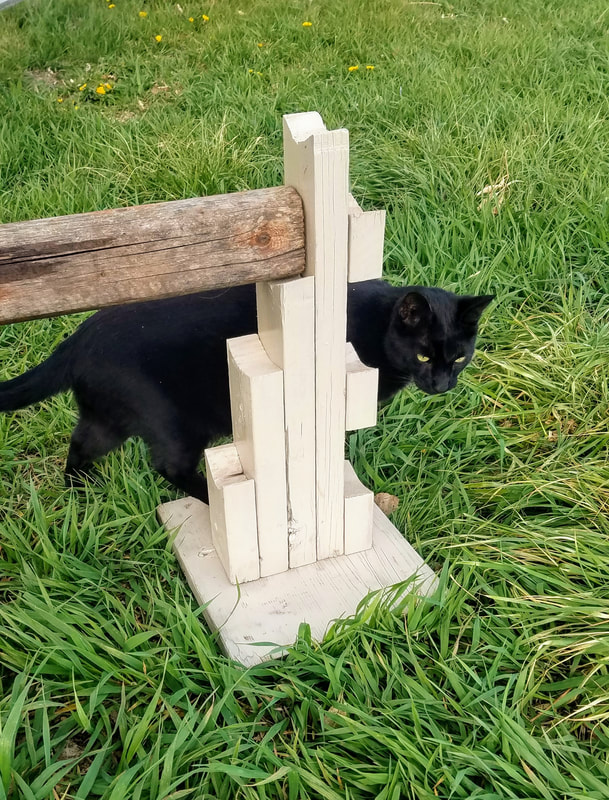
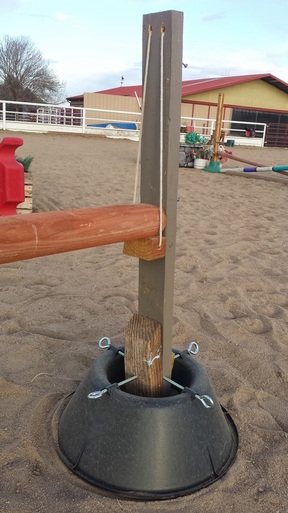
Christmas Tree Stands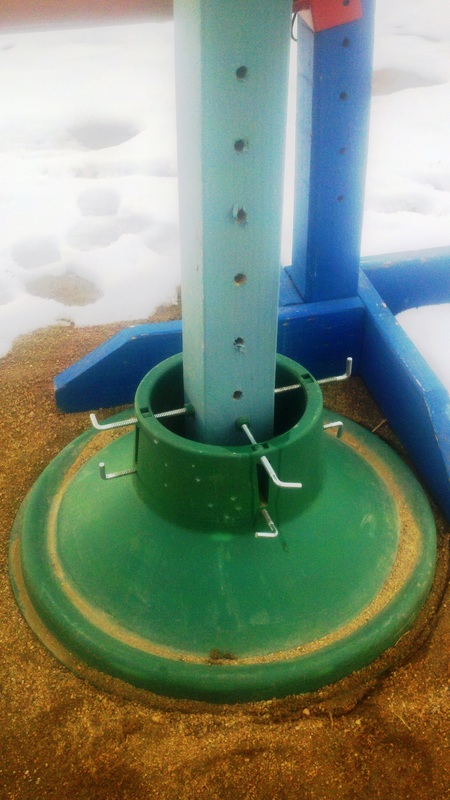
Don't even bother with wood, saws, and screws. Just slide in a 4 foot 4 x 4 with holes drilled in, and Presto! Instant jump standard!
The "8-Screw" kind works best with the square uprights. Much lighter than regular standards. You may want to drill a hole in the bottom to avoid collecting water. |
Find them at thrift stores around Christmas time for a few dollars, on major clearance after Christmas (I got a bunch from Walmart for 75 cents each!), at garage sales, or in your mom's attic. |
|
You have "Tree Stands", why not use actual TREES for standards? Especially for cross county.
I can see use of actual Christmas trees using the branches to support (long) poles. Recycle! |
|

Just rest the poles in the branch "V"s.
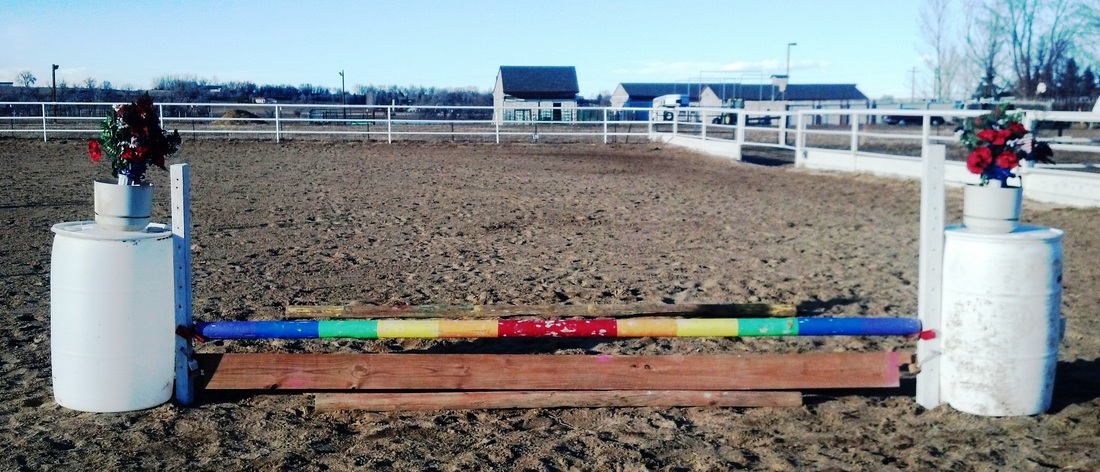
Barrels as Standards
|
|

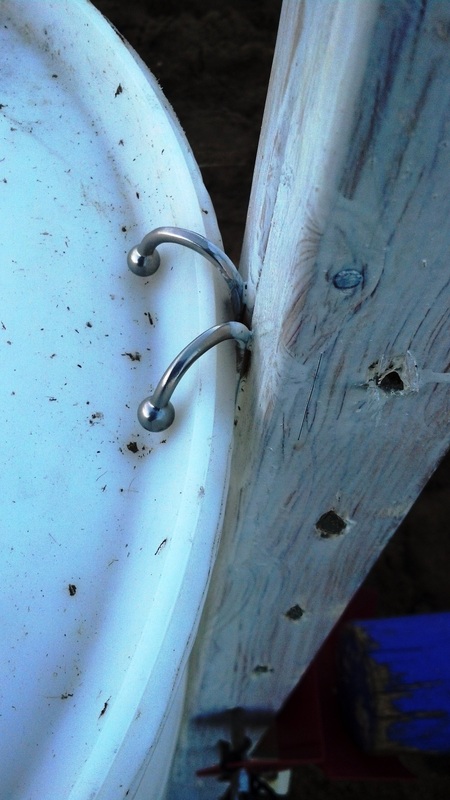
You could attach commercial jump pole holders or ...
...fairly easily
make your own by attaching a 2x4 or 4x4 with holes drilled in it, just like the regular jump standard but no feet.
You can make them taller than the barrels. Put one on each side to make 2 jumps from 3 standards.
I made them DETACHABLE using hooks, so I can use the barrels in other ways.

Post is detachable from barrel! It's a 4x4 (actually 2 2x4s screwed together, just like simplified jump standard) with holes drilled every 4 inches. Home made jump cup and plank.
|
Double Robe Hook from bathroom
hardware section. |
Jump Blocks
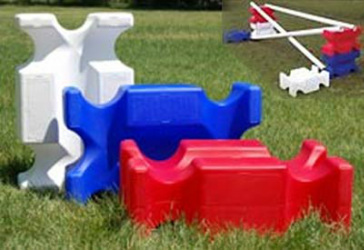
Plastic cubes with notches.
When you buy make sure the price is per PAIR. Also beware hefty shipping charges!
These can also be used as fillers under jumps.
I found that people have come up with clever ways to build home made jump blocks too!
When you buy make sure the price is per PAIR. Also beware hefty shipping charges!
These can also be used as fillers under jumps.
I found that people have come up with clever ways to build home made jump blocks too!
Home Made Jump Block
They sell home made jump blocks like these here:
http://dancinghorsehill.com/jumps.html
Three height options, and I think you can stack them too.
http://dancinghorsehill.com/jumps.html
Three height options, and I think you can stack them too.
Multi-height jump block/mini standard make from 2x4s and a base.
|
Multi-height jump block/mini standard with a different base.
|
Cavalletti
|
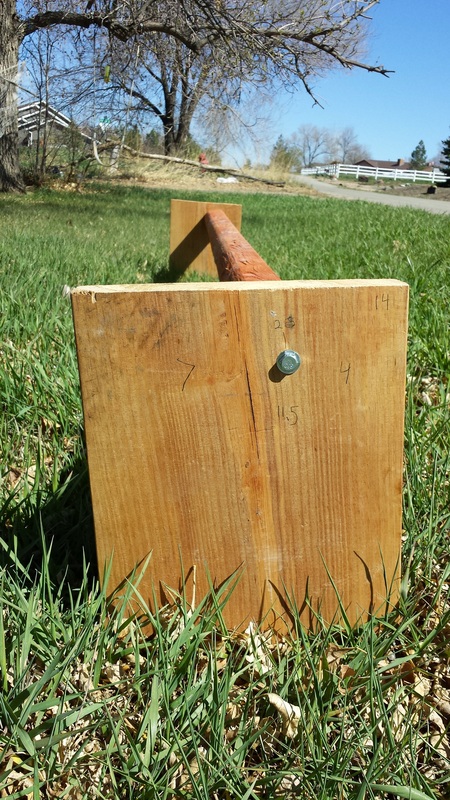
Using a 1/4 inch lag screw (and washer), pre-drill holes and bolt pieces together. The bolt hole is offset from the center so there are 4 height options depending on how you rotate the blocks. (My ends are rectangular since that's what I had lying around. Square ends are more common I'd imagine.)
|
Stack cavalletti in various configurations to make jumps. I like these a lot because carrying them is so easy - no dragging around standards or messing with jump cups.
|
The rectangle is 11 inches by 14 inches.
The hole was drilled using offets clockwise from top: 2.5 inches, 4 inches, 11.5 inches, 7 inches. 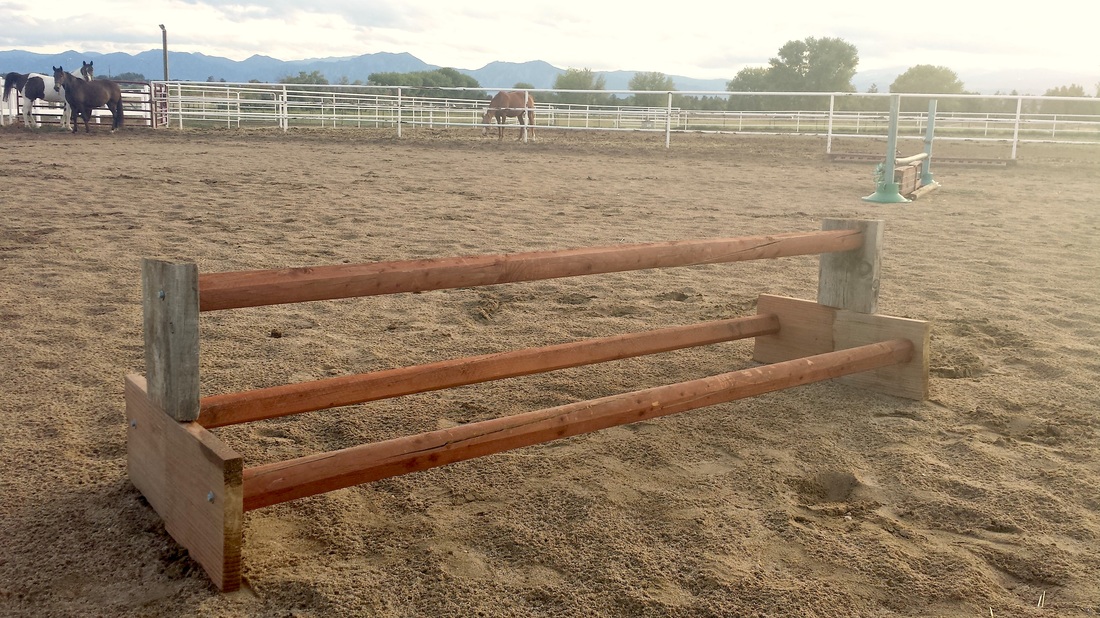
|
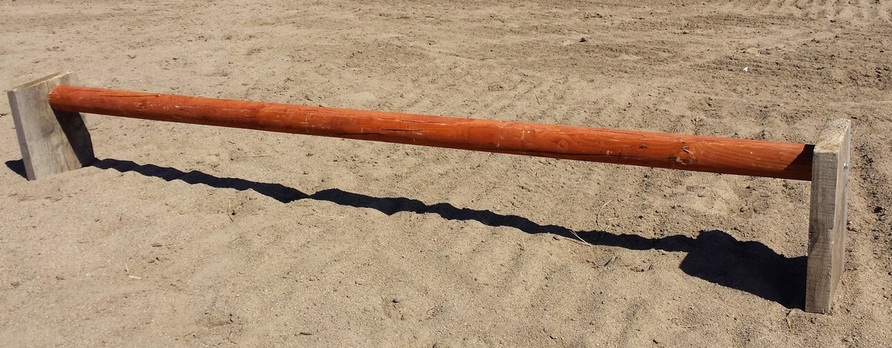
Just about he simplest, easiest cavaletti possible. I made the ends asymmetrical on purpose so the pole (a landscape timber) could be set higher.
|
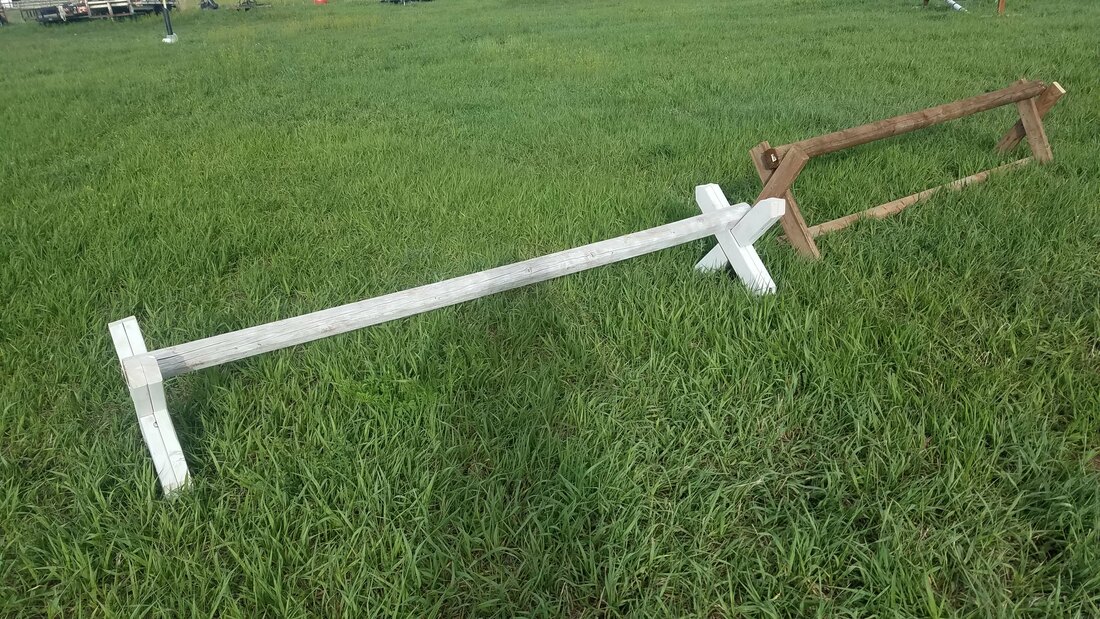
Standard cavaletti from 4 pieces of 2 foot 2x4's beefed up with 10-inch pieces filling out the ends. And trim the X'es so you can stack them.
|
I found this page on www.budgetequestrian.com to be really great for cavaletti building steps.
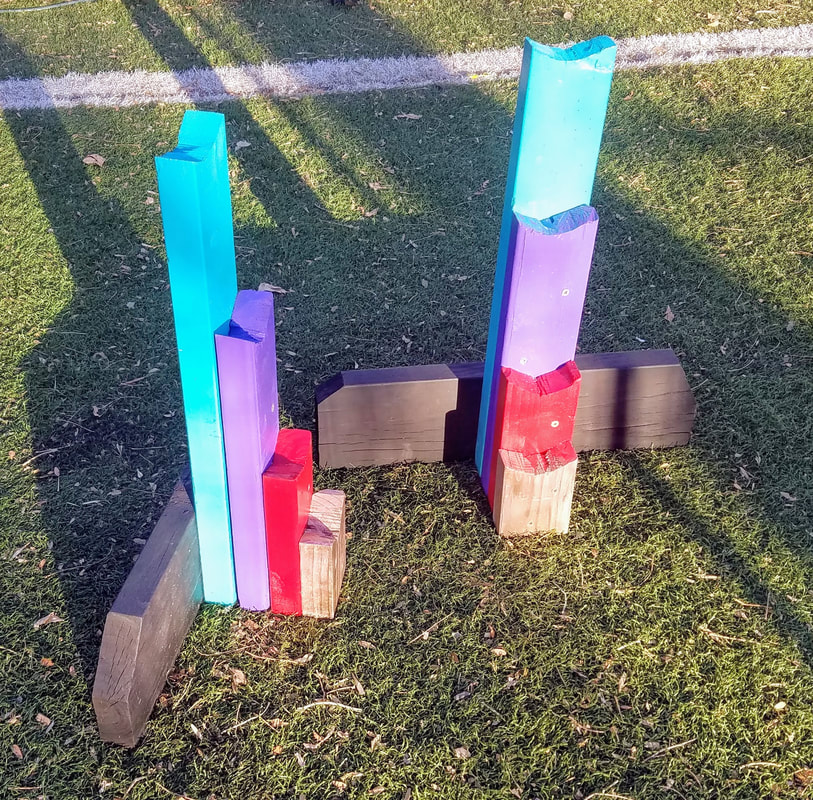
Jumbo cavaletti
|
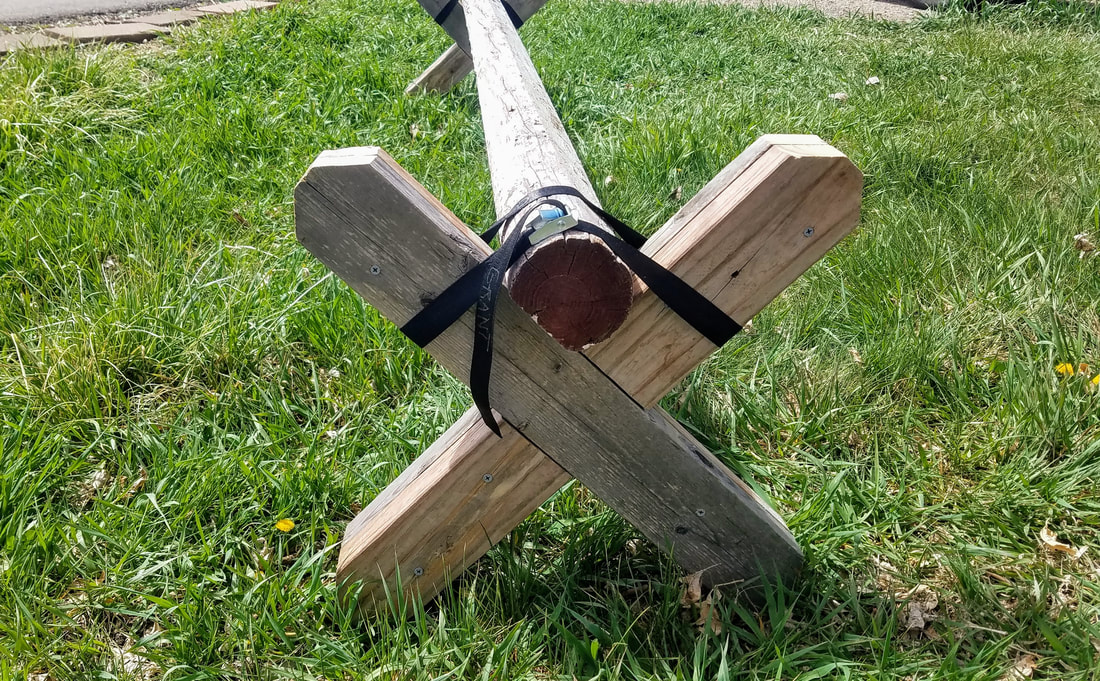
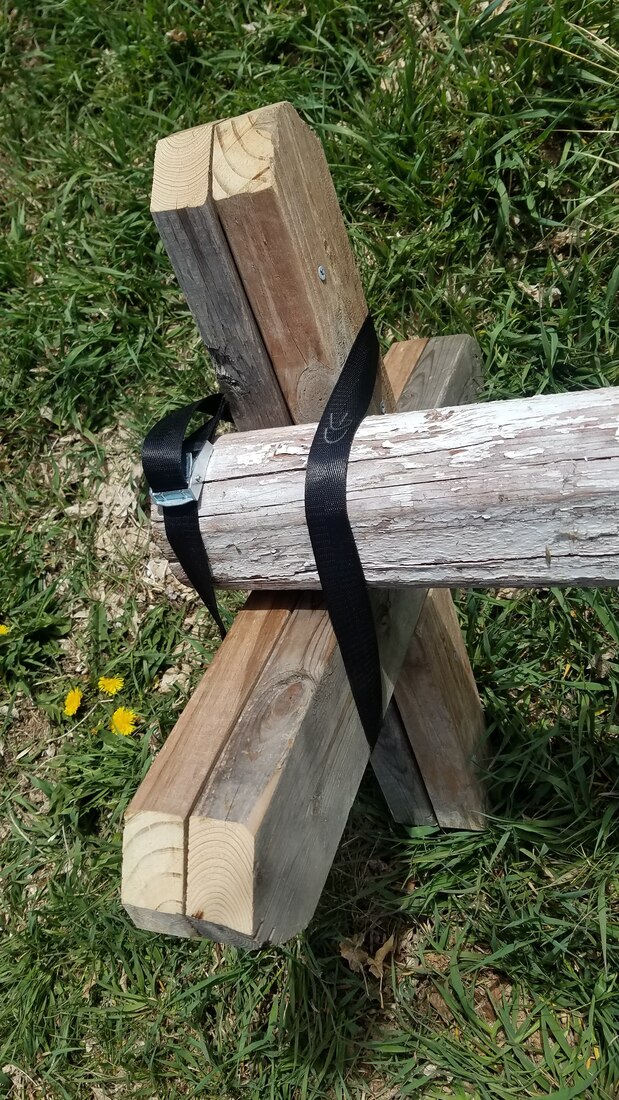
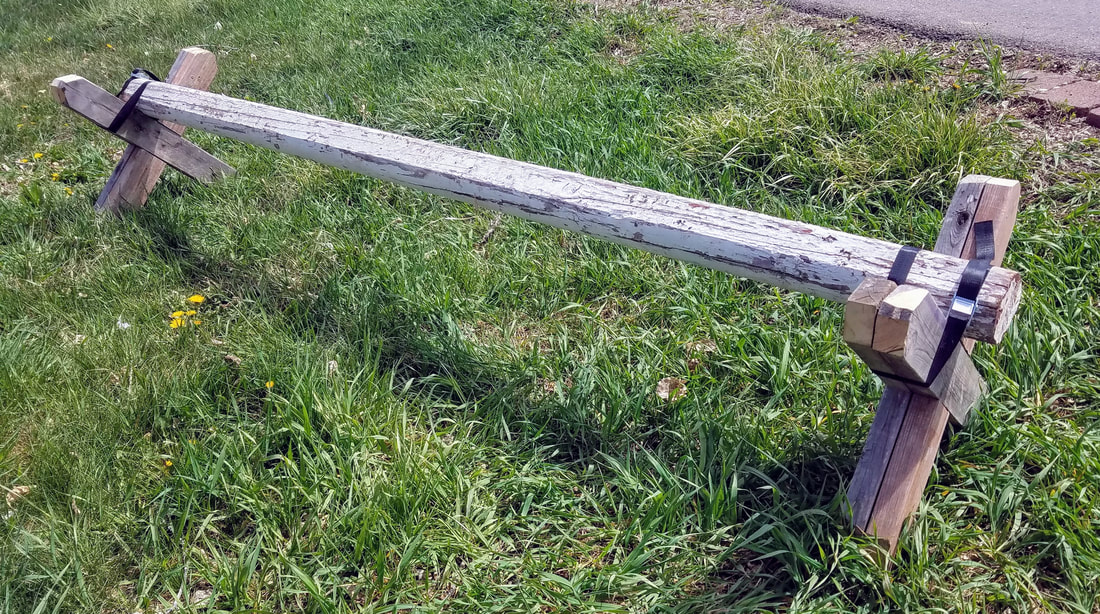
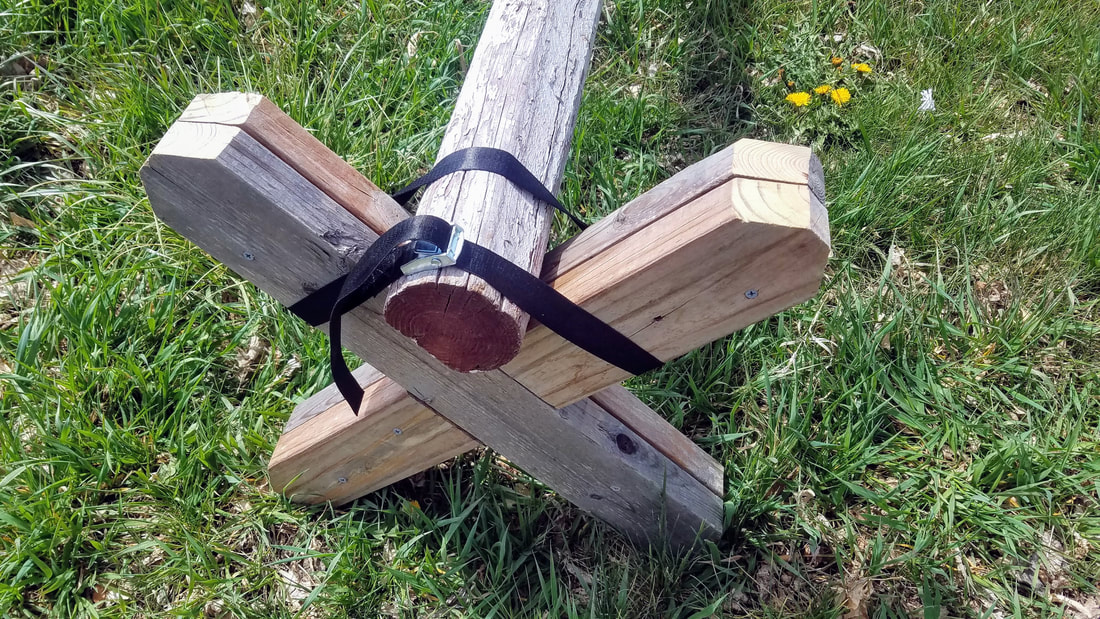
Love these lag screws - strong and skinny so the timber doesn't want to split so much.
|
I got tired of splitting wood and wobbling attachments with screws (plust expensive long screws). So I am attaching whatever poles I want (in this case a cheap landscaping pole) to my sturdy Xs with cam buckle cargo straps (3 feet long x 1 inch wide).
BONUS - SO MUCH EASIER TO TRANSPORT the 3 separate pieces from home to barn in my car.
BONUS II - I can change out whatever length or size of pole I want!
BONUS - SO MUCH EASIER TO TRANSPORT the 3 separate pieces from home to barn in my car.
BONUS II - I can change out whatever length or size of pole I want!
|
|
Pallets

When vertical, some have enough spacing between the slats to lay a pole.
Add feet (a short 2x4 attached to the bottom of one or both sides) and use as "standards".
Add feet (a short 2x4 attached to the bottom of one or both sides) and use as "standards".
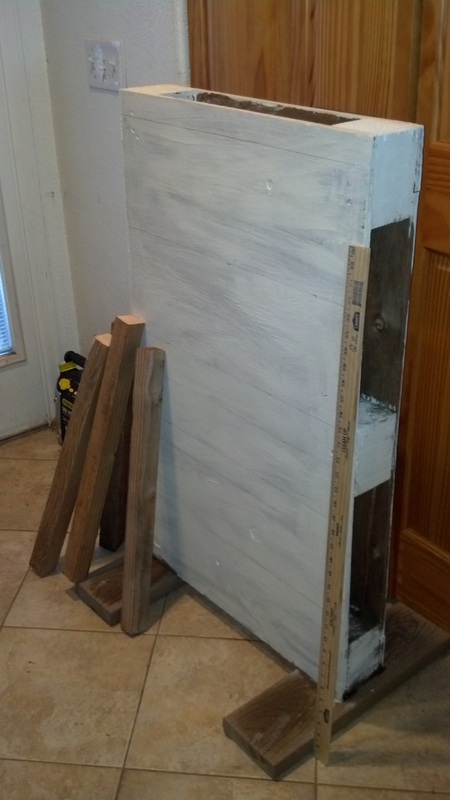
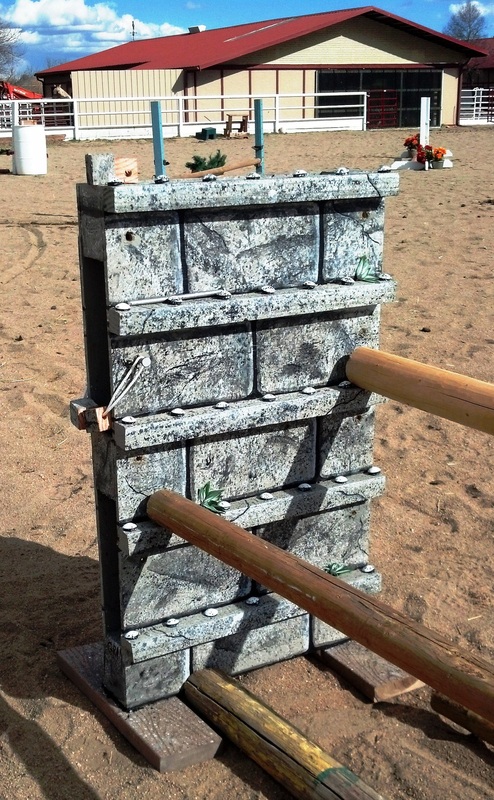
Pallet Jump Block
Recycle a (free) pallet into a jump block standard.
This is a pallet that is solid on 1 side. I primer-painted it. The feet are scrap plastic decking boards (no rot!) The 2x2's will be the pole rests. (It's inside because it was too cold and snowy outside to do anything!) |
|
|

These are the pole rest pieces in progress. I decided to try using furniture sliders to prevent the poles from rolling. They are dome-shaped and already have a nail. I hammered them in to the pole rests before attaching - much easier.
|
Inspiration for pallet jump block.
|
Making the Pallet Jump Block
Click for larger image and instructions.


Firewood Logs
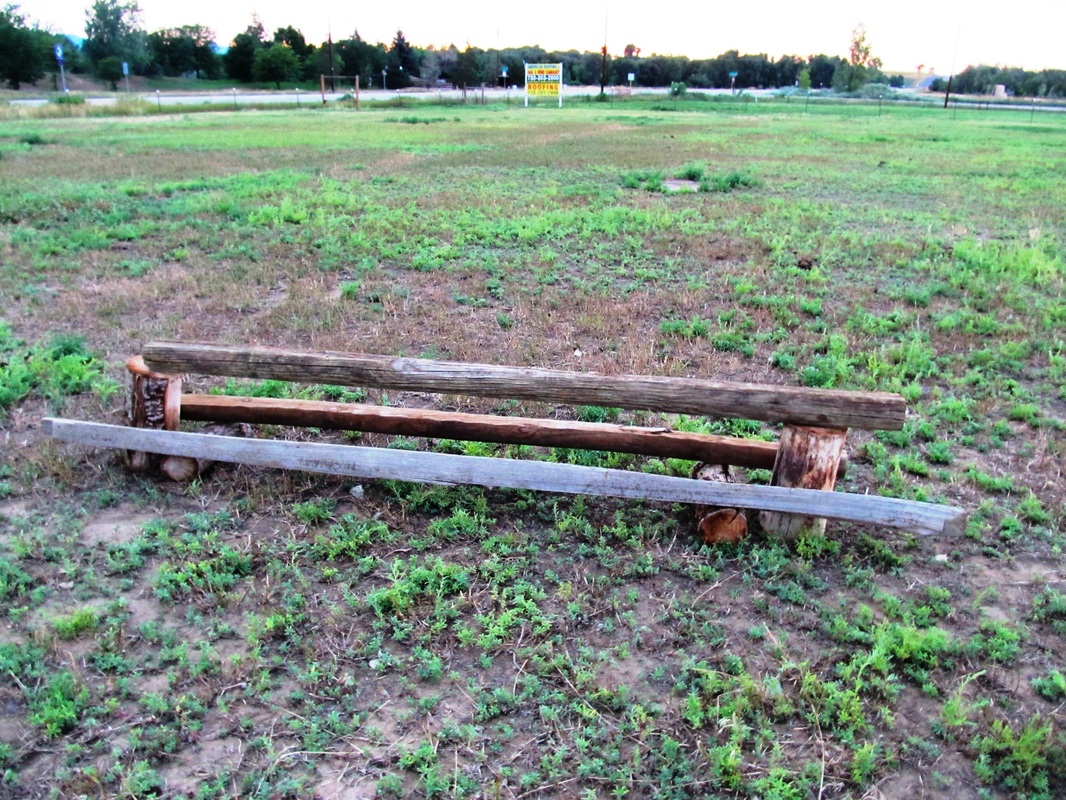
Why not snag a few logs from the firewood stack?
|
|
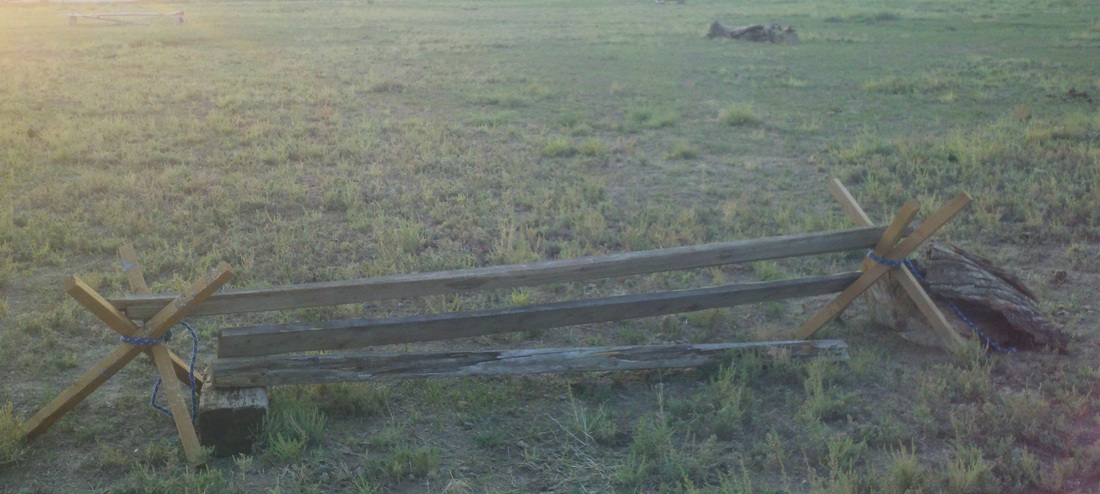
Experiment - Creative Standards
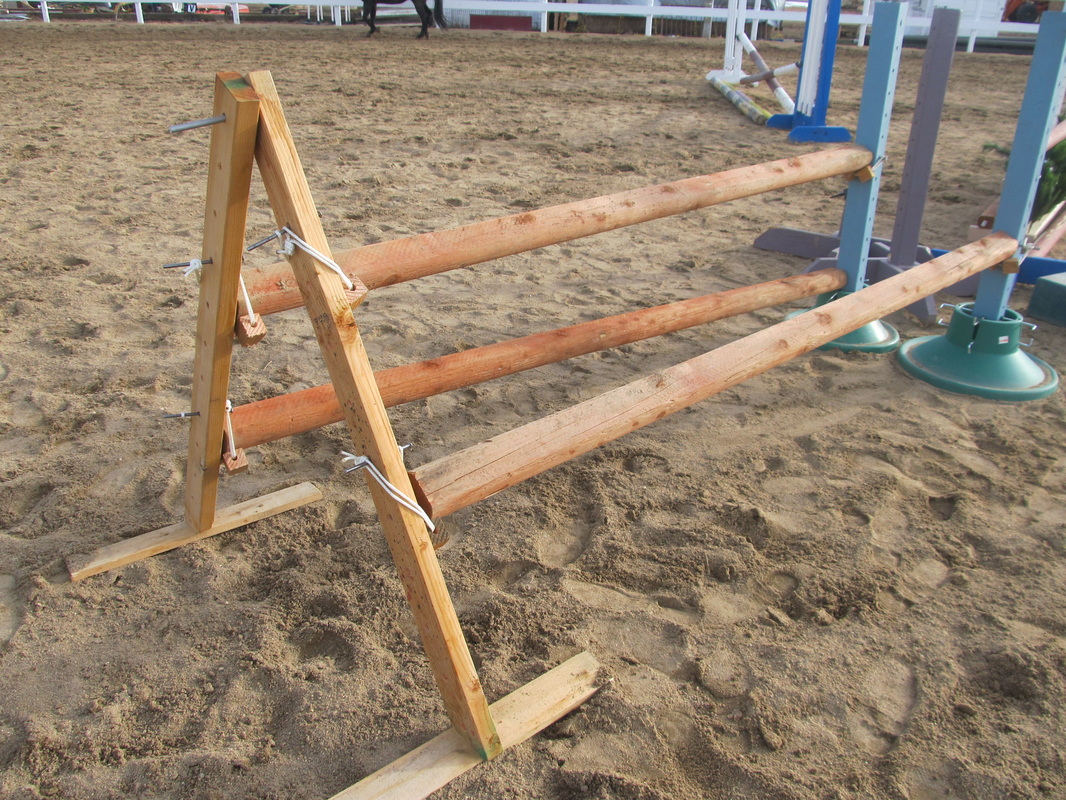
This is a "prototype" but seems to work. Just 2 x 4's with a crosspiece "foot" to make it self-supporting. The top is "hinged" with a carriage bolt or jump cup pin (galvanized spike).
I just drilled holes in each 2 x 4 and used the home made jump cups for poles.
Very portable and storeable, and cheap and easy to make.
Makes nice oxers of varying heights.
I just drilled holes in each 2 x 4 and used the home made jump cups for poles.
Very portable and storeable, and cheap and easy to make.
Makes nice oxers of varying heights.
|
|
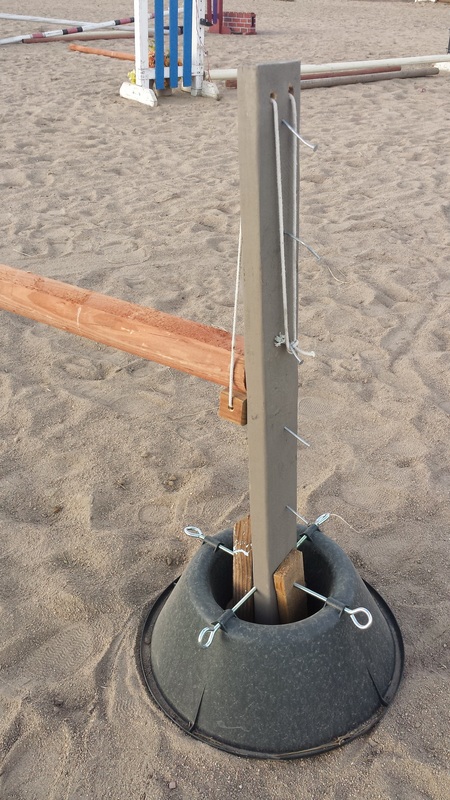
This is a minimalist standard! A single 2 x 4 scrap and a loop of rope. Just 2 holes the rope can slide through, and nail pegs on the back to adjust the height of the "jump cup". I used short wood scraps to build out the base of the 2 x 4 to fit in this cheap-o Christmas tree stand. (75 cents at Walmart after Xmas sale :-)
Tripods - scrap 2x2's tied with rope. Spread out the "legs" and the top forms the pole holding part.
Firewood logs or other scrap can also prop up poles.
Firewood logs or other scrap can also prop up poles.
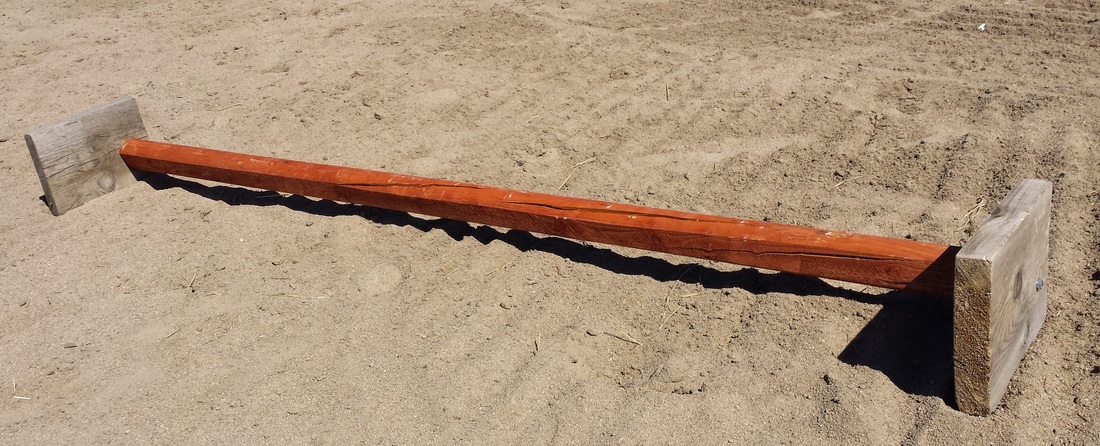
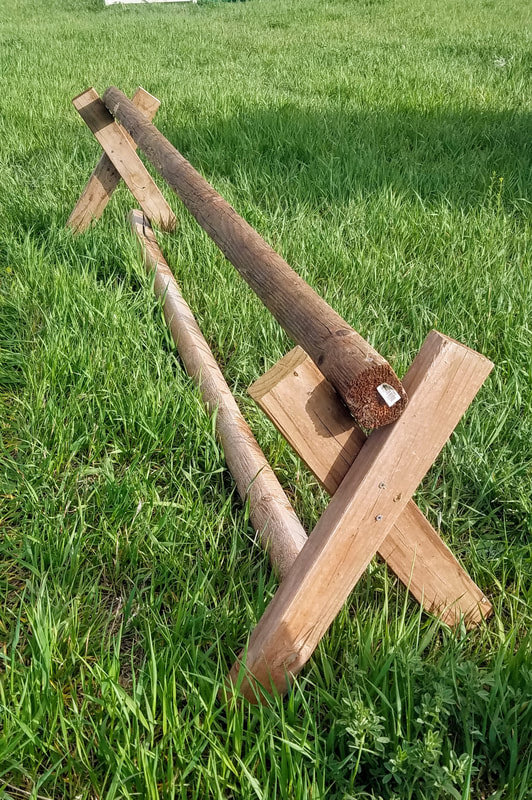
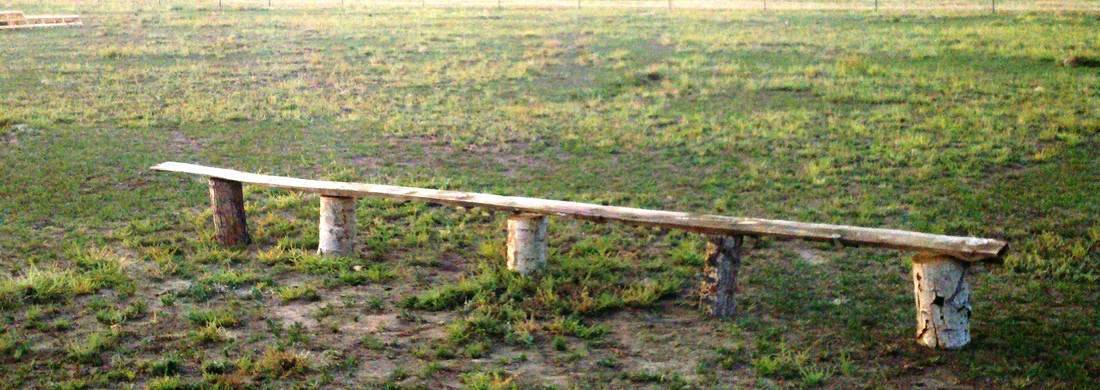
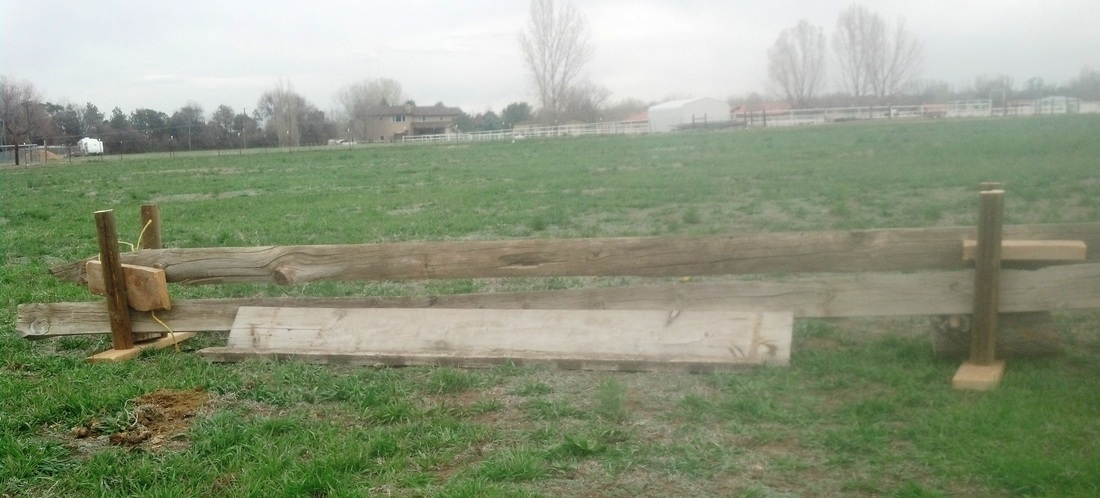
Plank Holder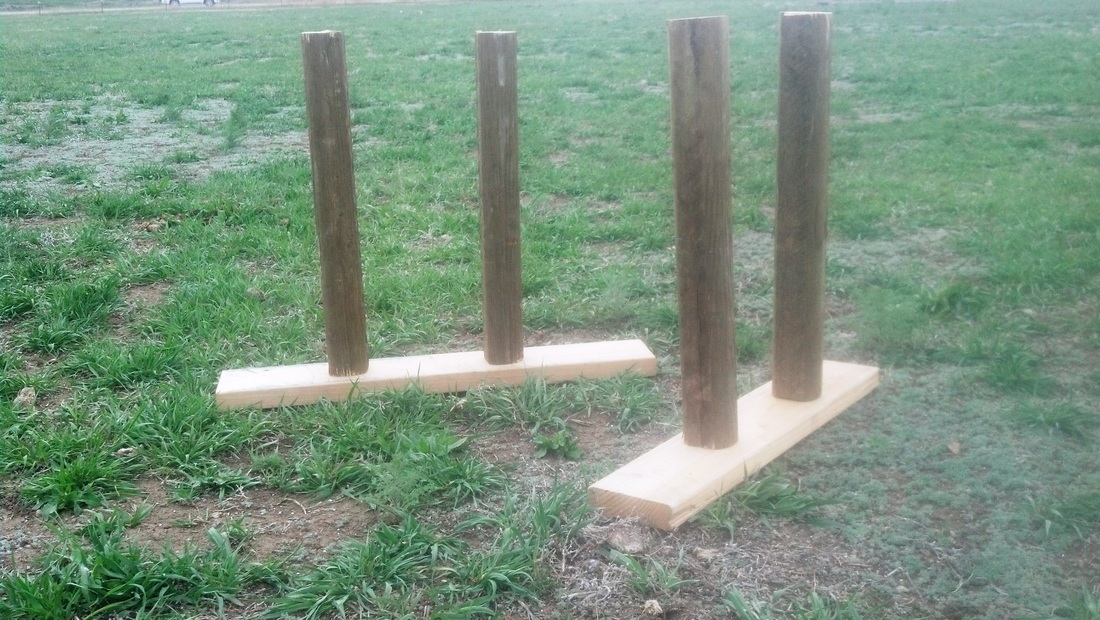
An 8 foot landscape timber cut in 4, screwed to scrap 2x6 feet. Holds logs and planks.
|
|
Plank holders with spacers to separate planks.
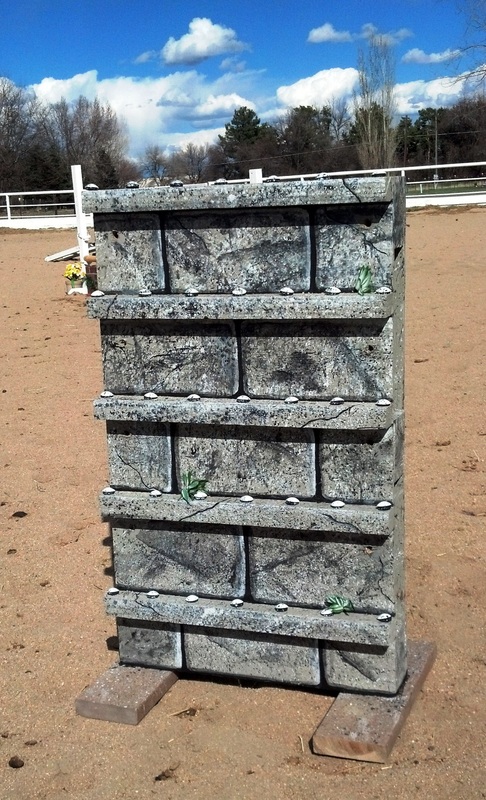
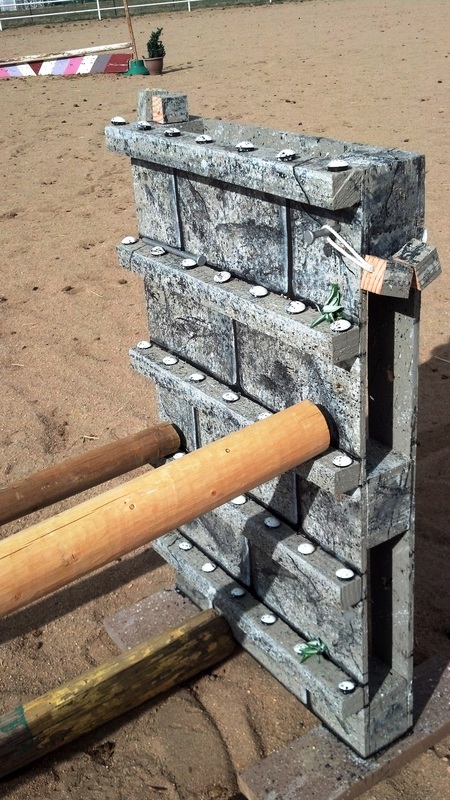
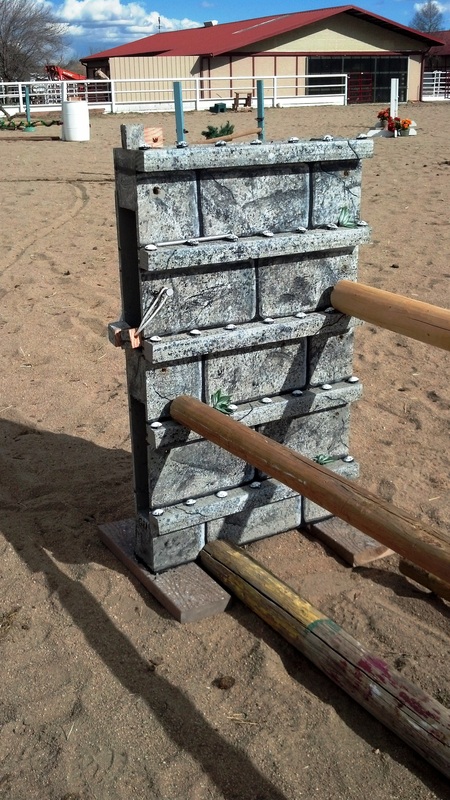
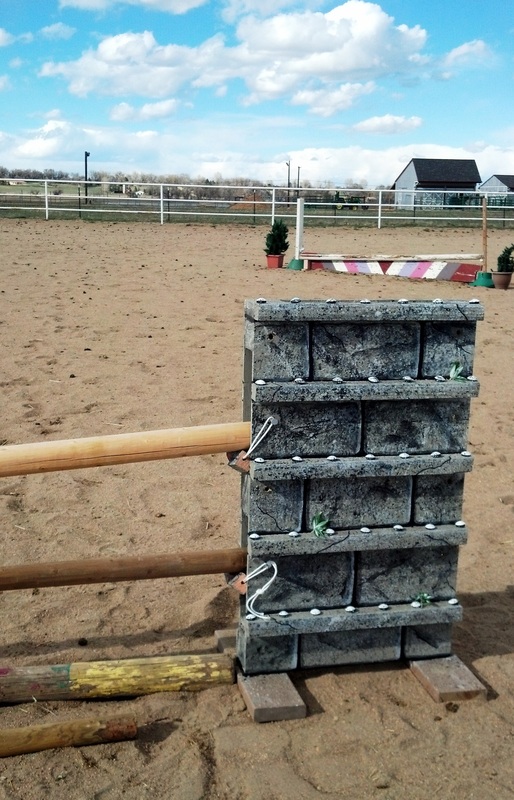
Using pallet walls as wings.
